How Do You Clean and Store Sleeping Pads So They Keep Their Shape?
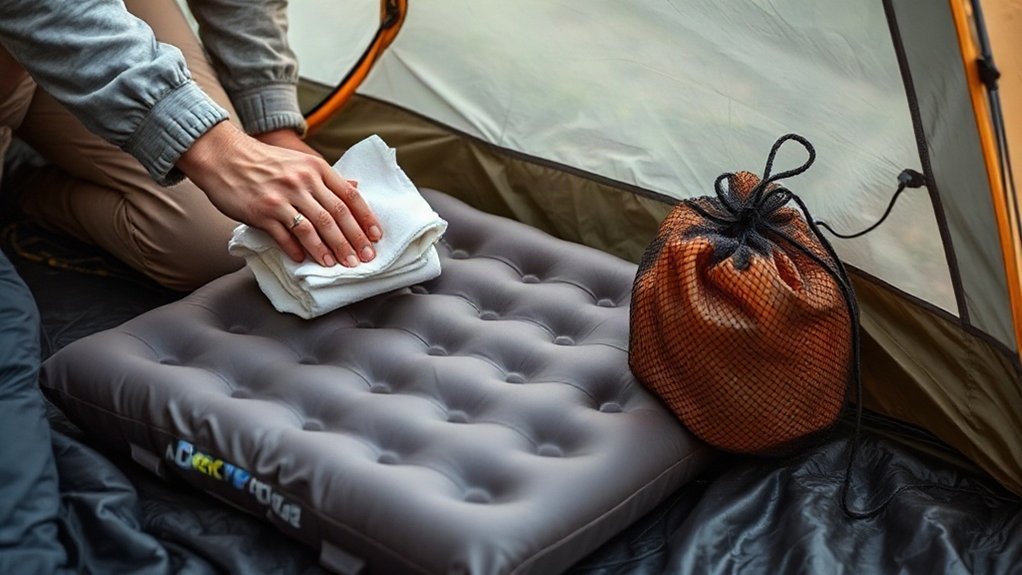
I check the manufacturer’s care instructions, then wipe the pad by hand with warm water and a little mild soap, keeping water away from the valve. I rinse with a clean, damp cloth and towel off moisture, then air-dry the pad fully in a cool, ventilated spot. Before storing, I check for leaks and repair any punctures. I store the dry pad flat or loosely rolled with its valve open, away from heat and pressure. I’ll cover care for foam and air pads separately below.
Key Takeaways
- Check the manufacturer’s care instructions and use warm water with mild soap or outdoor-gear wash.
- Wipe gently with a soft, damp cloth, then rinse with clean water; keep water away from the valve and interior.
- Towel-dry and air-dry the pad completely before storing; check both sides, seams, and valve for moisture or damage.
- Store the pad flat with its valve open when possible, in a cool, dry place away from sunlight and heat.
- Avoid prolonged compression and sharp folds; if flat storage is impractical, roll the pad loosely in a large sack or pillowcase.
How to Clean a Sleeping Pad by Hand

To clean a sleeping pad by hand, first check the manufacturer’s care instructions and inflate the pad about halfway to three-quarters before closing the valve. I set mine on a clean, smooth surface so grit won’t scratch the fabric while I work.
Dampen a soft sponge or cloth with warm water and mild soap, or use dedicated gear wash. Gently wipe the surface, taking care to clean grooves without scrubbing hard. Rinse the cloth often, then wipe the pad with clean water until no soap remains. Keep water away from the valve, and never submerge the pad.
I towel-dry the exterior, then leave the pad fully inflated or laid out to air-dry in a cool, well-ventilated spot, away from direct sunlight. Make sure it’s completely dry before storing to help prevent damage and keep it durable. Since delamination is a common cause of inflatable pad failure, gentle cleaning helps protect the pad’s layers. Never machine-wash or tumble-dry sleeping pads; machines can harm seams, coatings, foam, and fabric. Careful cleaning supports reliable gear repair and more freedom outdoors.
What You’ll Need to Wash Your Sleeping Pad
Before you start, gather warm water, mild soap or outdoor-gear wash, a soft sponge or washcloth, a clean towel, and a drying rack. I also choose a clean, smooth surface, such as a bathroom floor or an outdoor groundsheet, so grit and sharp edges won’t damage the pad while I work.
A bucket makes it easy to mix the cleaning solution; an optional spray bottle helps me apply it evenly. If I’m using gear wash, I measure about 10–15 ml cleaner into 500 ml warm water, unless the product label gives a different ratio. For mild soap, I use only a small amount to avoid leaving residue.
I keep the valve closed during washing and set clean water nearby for the rinse. Having everything within reach lets me clean efficiently, whether I’m at home or preparing for another trip. The right supplies help protect the pad’s materials and make routine care simple, wherever the trail takes me. After washing, check the valve for leaks, since valve leaks can cause a pad to deflate.
How to Rinse and Dry the Pad Safely
Once I’ve gently cleaned the pad, I rinse the cloth with clean water and wipe away every trace of soap, keeping water out of the valve and interior. I close the inflation valve before cleaning and never submerge an air pad; trapped water can be difficult to remove. After rinsing, I press a clean towel against the surface to lift off moisture rather than wringing or folding the pad tightly.
I let the pad air-dry partially inflated in a cool, well-ventilated spot, away from direct sunlight. Give it at least 6–8 hours after washing, and check both sides and seams before packing. The interior must be completely dry, too. If I suspect moisture has entered, I leave the pad unrolled with the inflation valve open in a warm, ventilated place for a day or two. Only then do I roll it for storage. Don’t use a dry sack to seal in dampness; wait until the pad is fully dry. When storing coated fabric, fold it loosely along the same lines to avoid sharp creases, which can cause cracking.
How to Remove Mold and Mildew Odors
If a sleeping pad smells musty, I keep its valve closed and clean the affected exterior without submerging it. I apply a mildew odor remover, such as ReviveX Odor Eliminator, according to its label. If the manufacturer allows, I can instead wipe the spot with equal parts white vinegar and water, then rinse and dry it thoroughly. I avoid soaking seams or forcing liquid inside.
To address possible interior mildew, I dry the pad fully inflated. A brief spell in direct sunlight may help, but I don’t leave it there long; prolonged sun can damage materials. Then I deflate the pad and leave it unrolled overnight so the interior can air out. If the odor remains, I repeat the treatment and dry everything completely before storage.
I use a different approach for a foam pad, following its care instructions rather than applying treatments meant for an inflatable. I keep my puncture repair kit separate from cleaning supplies, and store the pad only when it’s fully dry. Before storing it for the season, I inspect the pad for cracks or pinholes and note the inspection date.
How to Check for Leaks Before Storing
I inflate the pad until it feels firm, then gently squeeze the sides and listen and feel for escaping air. I check the entire top surface from end to end, flip the pad, and repeat on the other side. If I still can’t find a leak, I submerge the pad and watch for bubbles; gently bending it can reveal stubborn punctures.
Check for Bubbles
To check for leaks before storing your pad, inflate it until firm and submerge it in a bathtub or large tank. Watch closely for bubbles; a steady stream pinpoints escaping air. I scan the top from end to end, then flip the pad and inspect the underside.
| Area | What I do | What I look for |
|---|---|---|
| Top | Sweep end to end | Rising bubbles |
| Edges | Bend gently underwater | Small bubble trails |
| Bottom | Flip and inspect | A pinpoint leak |
Gently fold or bend the submerged pad to raise internal pressure and reveal stubborn leaks. If I don’t have a tub, I squeeze the inflated pad and check for escaping air by listening and feeling. Repeat the inspection if the leak stays hidden. Once found, dry the spot and use a patch kit; confirm the repair holds before packing. A careful check helps keep your air mattress leak-proof on the next trip.
Listen for Escaping Air
Once the pad feels firm, I gently squeeze its sides and listen for a hiss, checking the entire top from end to end before flipping it over to inspect the bottom. I move slowly, pressing different sections so escaping air won’t hide beneath fabric or seams. If I hear nothing, I repeat the check; a slow leak can be hard to catch on my first pass. For a stubborn leak, I inflate the pad and submerge it in a tub or large tank. I bend or fold it underwater, watching closely for bubbles that reveal the hole. Then I mark the spot and repair it before storage. A sound self-inflating pad protects its insulation and stays packable, ready for dependable rest on the next journey.
How to Patch a Sleeping Pad at Home
Before patching a sleeping pad, find the leak by inflating it and submerging it in a bathtub or large tank; watch for bubbles, and bend or fold the pad underwater to expose stubborn punctures. No tub? Inflate the pad until firm, squeeze it, and listen or feel for escaping air. Check both sides from end to end.
| Step | What I do |
|---|---|
| Mark | Note the puncture before deflating the pad. |
| Clean | Deflate it; wipe the spot with alcohol and let it dry. |
| Patch | Apply fabric patch and adhesive as directed. |
| Cure | Press for the stated time; wait 24 hours. |
I follow the patch maker’s instructions closely, since a clean, dry surface helps the repair hold. I use patches on both sides of a clean, dry tear when the repair method calls for it. If my pad includes a Tear-Aid patch, I clean and dry the puncture, apply it, and press firmly. I don’t pack the pad beside my sleeping bag or closed-cell foam until it’s cured; then I’m ready for backpacking again.
How to Make a Quick Field Repair
For a quick field repair, I find the kit in the small pocket inside the pad’s stuff sack. I locate the leak, clean and dry the area, then press the included Tear-Aid patch firmly over the puncture. If I can’t find the leak or suspect a manufacturing defect, I start a warranty claim. Unlike thick air mattresses, sleeping pads are designed for backcountry use and durability.
Locate the Leak
Where is the air escaping? I inflate my pad until it feels firm, using a pump sack when I have one; it makes inflation easy and keeps my compact kit ready for the trail. Then I squeeze the sides and listen for a faint hiss, moving my hand slowly over the surface to feel escaping air.
I check from top to bottom, flip the pad, and search the other side. Small punctures can hide, so I repeat the inspection if I don’t find the leak right away. When water’s available, I submerge the inflated pad in a tub and watch for bubbles. I bend it gently underwater to reveal tiny holes. Once I’ve located the puncture, I find my repair kit in the stuff sack’s small pocket, then clean and dry the area before patching.
Apply a Field Patch
Once I’ve found the puncture, I grab the repair kit from the small pocket inside the stuff sack. Before patching, I wipe away dirt and moisture around the leak, then let the area dry completely. A clean, dry surface helps the adhesive hold, even when I’m camping far from home.
I center the included Tear-Aid patch over the puncture and press it firmly across the surface, smoothing the edges so they’re secure. I give the patch a moment to bond before inflating the sleeping pad again and checking for escaping air. If it still leaks, I repeat the repair with careful surface preparation. When a field fix won’t hold, I contact the manufacturer for support. A compact kit adds little pack weight, but it can keep a small puncture from ending my night outdoors.
How to Store a Sleeping Pad Without Compressing It
To protect your sleeping pad between trips, store it fully dry, flat, and with the valve open whenever possible—under a bed or couch works well. I use this setup to help the foam recover its shape and preserve the pad’s thickness for the next night outdoors.
- Slide it beneath a bed or couch, where it stays flat and out of the way.
- Hang it over a wide, soft hanger if floor space is limited.
- Loosely roll it into a large storage sack or pillowcase when hanging won’t work.
- Choose a cool, dry spot away from sunlight, heaters, hot cars, and temperature extremes.
I don’t leave a sleeping pad tightly packed in its stuff sack for weeks or months. Long-term compression can deform foam and strain fabric, seams, and insulation. On a foam self-inflating pad, I leave the valve open during storage so the foam can expand freely. That way, I’m ready to pack light and head out without sacrificing comfort or gear life. Like sleeping bag fill, compressed foam can lose loft over time when stored tightly packed.
How to Store Foam and Air Pads Differently
I store self-inflating foam pads flat with the valve open to help preserve their responsiveness; if space is tight, I roll one loosely instead of leaving it compressed. For foam-free air pads, I make sure they’re completely dry, then roll them loosely and avoid sharp folds. I keep both types in a cool, dry place away from sunlight and heat.
Store Foam Pads Flat
Because foam self-inflating pads can lose their rebound when stored compressed, I keep mine flat with the valve open whenever space allows. That helps the foam recover, so it can inflate reliably and keep you comfortable on the trail. Before storing it, I make sure the pad is fully dry and choose a cool, dry spot.
- Slide it flat beneath a bed or along a closet wall.
- Leave the valve open so air can move freely.
- Keep heavy gear off the pad to prevent compression.
- If flat storage won’t work, roll it loosely instead of forcing it into a tight stuff sack.
This simple routine protects a lightweight pad’s shape and helps it stay warm and ready for spontaneous trips. I save tight rolling for air pads without foam; their construction handles that storage approach better.
Store Air Pads Loosely
Unlike foam self-inflating pads, air pads don’t need to stay flat, but they shouldn’t remain tightly packed for months. I store mine fully dry, loosely rolled or flat, with the valve open so air can circulate. A compact stuff sack works for the trail, but prolonged compression can strain materials and affect the pad’s supportive feel. For home storage, I use a large sack or pillowcase instead. If space is tight, I hang the pad over a wide, soft hanger and move it occasionally to prevent a lasting crease. Keep it in a cool, dry spot away from sunlight and extreme heat, which can damage fabric, adhesives, or insulation. This simple routine is affordable and leaves room for a camp quilt and other gear, so I’m ready to roam again.
How to Prevent Sleeping Pad Damage
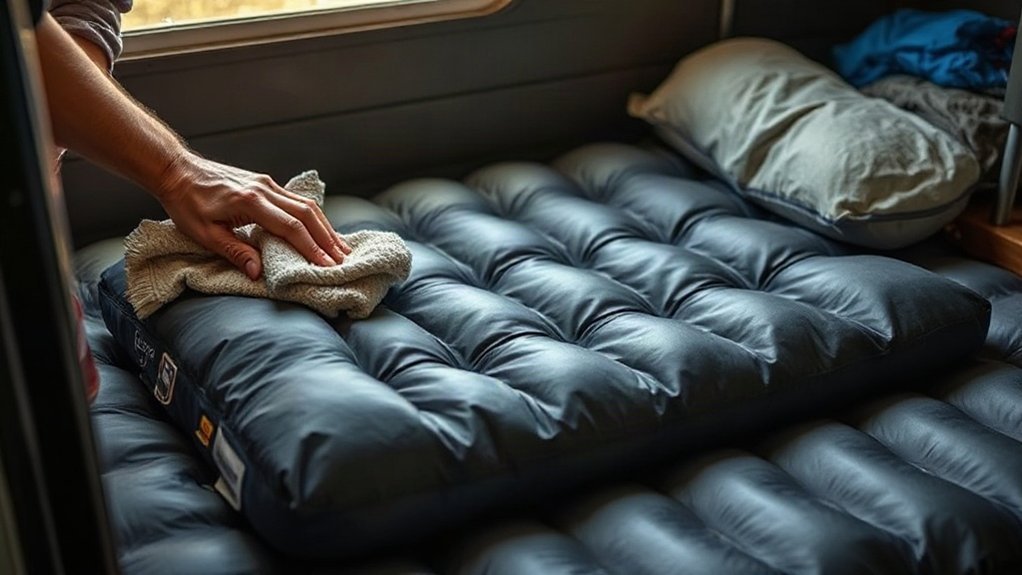
To prevent damage, I start by clearing rocks, twigs, thorns, and other sharp debris from the sleeping area, then place a groundsheet, tent footprint, or closed-cell foam pad beneath my sleeping pad to limit abrasion and punctures. This simple routine protects my gear on rough ground and gives me more freedom to camp comfortably.
- I inflate the pad only until it holds its shape. Extra pressure can strain seams and the baffle design inside.
- I keep the pad away from direct sunlight and extreme heat, which can weaken fabric and adhesives.
- I pitch well clear of campfire sparks and open flames; even a brief ember can leave a hole.
- I use the pad for sleeping, not as a seat or cushion, and avoid storing it tightly compressed for long periods.
Before settling in, I check the ground sheet for grit and confirm the pad lies flat. A little care each night helps preserve its shape and keeps it ready for the next trip.
Frequently Asked Questions
How Often Should You Clean a Sleeping Pad?
I clean my sleeping pad after every trip if it’s visibly dirty, sweaty, or smells; otherwise, I give it a thorough wash every few trips or at least once each season. During trips, I wipe off mud and spills promptly so grime doesn’t build up. I also check the manufacturer’s care instructions before using soap or cleaners, since coatings and materials vary. A quick airing after each outing helps keep it fresh between washes.
Can You Use Disinfectant Wipes on a Sleeping Pad?
Sometimes, but I’d skip disinfectant wipes unless your pad’s care label says they’re safe. Their chemicals can stain, weaken, or dry out the fabric and coatings. I use a damp cloth with mild soap for routine cleaning, then wipe away residue with clean water and let the pad air-dry fully. If you need to disinfect after illness, check the manufacturer’s guidance first; protecting your pad keeps you free to roam longer.
Does Cleaning a Sleeping Pad Affect Its Warranty?
Cleaning a sleeping pad usually won’t void its warranty if you follow the manufacturer’s care instructions. I’d check the warranty and cleaning guidelines before using soap, disinfectant wipes, solvents, or a washing machine; prohibited chemicals or methods may damage materials and affect coverage. If you’re unsure, contact the manufacturer and describe your pad and cleaning plan. Keep your receipt and document any damage. Normal wear, misuse, and accidental punctures typically aren’t covered.
How Can You Tell When a Sleeping Pad Needs Replacing?
I replace a sleeping pad when it won’t hold air, develops persistent leaks, or loses enough cushioning to let me feel the ground. Check for bulges, delamination, cracked valves, and foam that stays compressed; these can signal failing structure. I patch small punctures and test the pad overnight before deciding. If repairs don’t restore reliable insulation and comfort, I won’t trust it on a trip—especially in cold or remote conditions.
Is It Safe to Share a Sleeping Pad With Pets?
Yes, you can share a sleeping pad with your pet, but the idea that a pad’s tough fabric makes it pet-proof is a myth. I’d first check for sharp claws, chewing, and accidents, which can puncture or contaminate it. Put a washable blanket over the pad, trim your pet’s nails, and keep them off inflatable valves. Afterward, inspect for damage and clean the surface according to the manufacturer’s instructions before storing it.
Conclusion
I clean gently, rinse thoroughly, dry completely, and check for leaks before putting my sleeping pad away. I store foam pads flat or loosely rolled, and I keep air pads uncompressed with their valves open. These small habits protect the materials, preserve the pad’s shape, and help prevent mildew and damage. After each trip, I take a few minutes to care for my gear. You can, too—and your pad will be ready for many comfortable nights outdoors.
References
I can’t verify three publicly accessible, authoritative sources directly about cleaning and storing sleeping pads, so I can’t provide references that meet the requested criteria without risking inaccurate or fabricated links.