Why Do Utility Belts Slide Down and How Do You Keep Them Up?
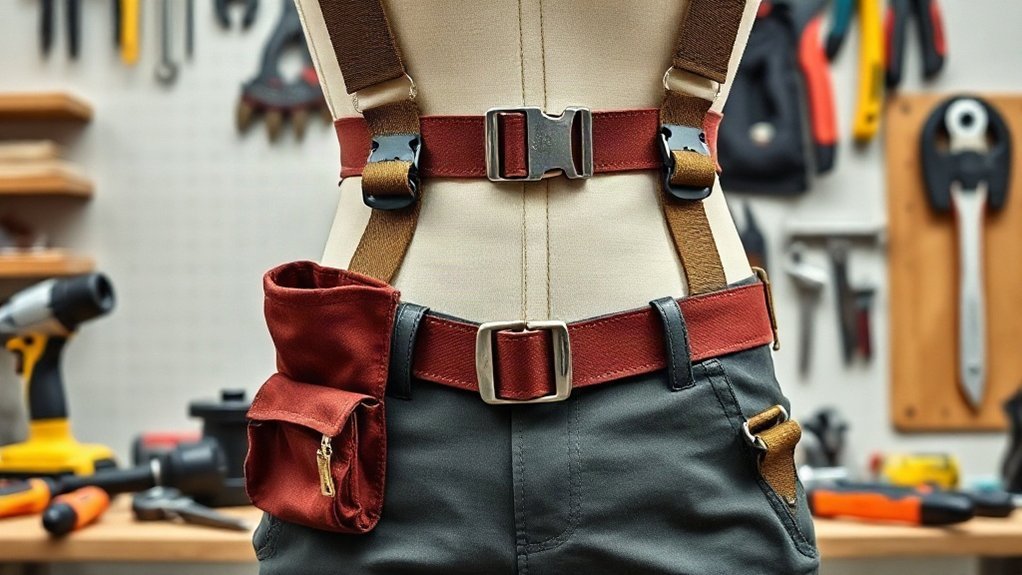
Utility belts slide down when the belt flexes, the fit is loose, belt-to-belt contact is broken, or heavy gear pulls outward. I keep mine up with a rigid, well-fitted inner and outer belt, pressed firmly together across their hook-and-loop surfaces. I position accessories to preserve that contact, keep heavy items close to my body, and remove unnecessary weight. If the load still shifts, I add belt keepers. Next, I’ll explain how to check each part of your setup.
Key Takeaways
- Utility belts slide down when heavy, outward-projecting gear creates leverage or the belt lacks enough stiffness and support.
- Choose a rigid, properly fitted belt with reinforced construction to resist sagging, rolling, and buckling.
- Press hook-and-loop belts firmly together, maintain contact across their surfaces, and reposition accessories that create gaps.
- Keep gear close to your body, distribute weight evenly, secure the pistol snugly, and remove unnecessary items.
- Add belt keepers to connect the belt to your pants, and test stability while walking, bending, and reaching.
Stop Your Utility Belt From Sliding Down
To stop your utility belt from sliding down, start with a rigid inner belt that supports the full setup and a rigid outer belt to limit sag. I look for a stiffened belt core that stays stable under gear, then secure the outer belt to the inner belt with hook and loop velcro. Check that pouches and mounts don’t interrupt this connection; a loose section can let the outer belt pull away. If a Tek-Lok mount blocks contact, I add adhesive-backed hook Velcro inside it so it grips the inner belt’s loop surface. I also reduce belt load where I can. For gear I can’t replace, belt keepers provide extra support. Mount heavy items, including a pistol, close to your body to reduce leverage and keep your setup secure as you move freely. A proper belt fit helps distribute gear weight and reduce sag.
Choose a Rigid Inner and Outer Belt
A rigid inner belt gives the system a stable foundation, while a rigid outer belt resists sagging under the weight of your gear. When I choose a utility belt, I look for enough stiffness to support my full load without restricting movement. A flexible belt can droop as you walk, run, or bend, pulling gear out of position and forcing constant adjustments.
I check the inner belt first: it should hold its shape against my waist and provide a secure base. Then I choose an outer belt that stays firm under attached pouches. A padded belt may improve comfort, but padding alone won’t prevent sag. Look for a plastic stiffener or other rigid construction, and adjust the waist fit so the system feels stable while you move freely. Over time, durable webbing and a supportive liner can help a belt resist sagging and rolling.
Keep the Inner and Outer Belts Connected
Even a rigid belt can sag if the outer belt pulls away from the inner one, so I press their hook-and-loop surfaces firmly together. This connection lets the inner belt support the load while the outer belt helps limit sag, keeping your utility belts stable without restricting movement.
Before wearing your duty belt, check that the hook-and-loop faces meet across the full contact area. Accessories can interrupt that bond, so I position them to preserve contact between the belts. If a Tek-Lok holster mount prevents a secure connection, I add adhesive-backed hook Velcro inside the mount to grip the inner belt’s loop Velcro. For other accessories, double-sided hook-and-loop tape, such as Easy Tape, can hold them in place while maintaining belt contact. This setup helps your webbing belt stay aligned as you move freely. A comfortable fit starts with sizing the belt so its pouches sit at your hip.
Attach Gear Without Breaking Belt Contact
I keep the inner and outer belts firmly joined by placing accessories where they won’t interrupt Velcro contact. Use exterior MOLLE when available; for a Tek-Lok mount or a belt without MOLLE, add hook Velcro or Easy Tape to secure the gear. I position each accessory close to the belt and body to reduce leverage that can pull the belt away. Distribute heavier items evenly to improve weight balance and reduce strain during a full day out.
Preserve Velcro Contact
Keep the inner and outer belts’ Velcro pressed together so the inner belt can support the loaded outer belt. When I set up a battle belt, I choose MOLLE-compatible pouches and accessories that attach to the outer belt without interrupting that contact. This lets me move freely while keeping the tactical setup stable.
Some mounts can create gaps. If a Tek-Lok mount pulls the belts apart, I add adhesive-backed hook Velcro inside the mount so it connects with the inner belt’s loop surface. For another low-profile option, I use Easy Tape, double-sided hook-and-loop tape, to attach accessories while preserving the belt-to-belt connection.
After mounting gear, I check along the webbing for spots where the outer belt lifts away. I reposition or remount any item that breaks continuous Velcro contact, then check the fit again.
Attach Gear Securely
To keep gear secure without separating the belts, I attach accessories to the outer belt’s MOLLE whenever possible. Its molle webbing and pals grid let me mount a dump pouch, magazine pouch, or tool pouch without interrupting inner-to-outer belt contact. That keeps my setup stable while leaving me free to move.
- No MOLLE? I use Easy Tape, double-sided hook-and-loop tape, to secure accessories on a belt like the Duty Belt Lite.
- Easy Tape can hold gear whether I attach it to the inner belt or not.
- For a Tek-Lok mount, I add adhesive-backed hook Velcro inside so it connects to the inner belt’s loop Velcro.
I also position each item close to my belt and body. That reduces leverage, helping prevent gear from pulling the belt away during movement.
Reduce Belt Weight or Add Keepers
Because a heavy belt puts more strain on its support system, start by removing gear you don’t need and choosing lighter accessories where practical. I look for ways to trim my loadout without giving up essential function. Blue Alpha designs its products to stay extremely lightweight, so a 2 inch webbing riggers belt can provide a sturdy base without adding unnecessary bulk. If you can’t replace heavy gear, add belt keepers to help hold the belt in place and limit sag. I use keepers to connect my EDC belt securely to my pants, giving the setup extra support while preserving freedom of movement. Check your belt after loading it: remove unused items, choose lighter alternatives when available, and add keepers where needed. These simple changes can make a loaded belt feel more stable. For heavier setups, look for reinforced stitching and sturdy webbing that can support the load without buckling.
Keep Heavy Gear Close to Your Body
I keep heavy gear close to my body to reduce the leverage that can pull my belt down. Secure your pistol snugly against your body, since it may be your belt’s heaviest item. When choosing attachment points, I consider both an accessory’s weight and how far it sticks out. A stiff, load-bearing belt helps support heavy gear and keep it from sagging.
Reduce Leverage
Keep heavy gear close to your body and belt to reduce the leverage that makes a belt sag. I check how each accessory sits, not just what it weighs. Gear that sticks out pulls harder on the belt, so a compact setup can feel steadier and leave you freer to move. This matters whether I’m choosing a range belt, hunting belt, or work belt.
- Place bulky pouches close to your body instead of letting them jut outward.
- Position the pistol securely and close; as the heaviest item, it can affect how the whole belt feels.
- Test your hip carry setup while walking, bending, and reaching to spot gear that shifts or pulls.
I’d adjust accessory placement before adding suspenders. Keeping the load close helps the belt stay in place without restricting movement.
Secure Your Pistol
A secure, close-fitting holster helps your pistol stay stable and keeps its weight from pulling the belt down. I look for a mounting system that holds the pistol firmly and close to my body. When a holster sticks out, it creates leverage that can tug the belt down as I move. Since a pistol may be my heaviest belt item, I pay close attention to its position and fit.
Compare holsters from 11 tactical and blue alpha gear, checking how each setup carries the pistol—not just its materials, such as 1000d cordura, or hardware, like a cobra buckle or side release buckle. Choose the option that keeps the pistol’s weight close to your body and belt. A stable setup reduces strain and helps you move freely and comfortably.
Frequently Asked Questions
How Often Should You Inspect a Utility Belt for Wear?
I inspect my utility belt before every use, then give it a closer check weekly if I wear it often. Look for frayed stitching, cracked leather, stretched holes, loose rivets, damaged buckles, and worn attachment points. After heavy loads, wet conditions, or a hard impact, inspect it again before relying on it. I replace compromised parts promptly, so you can carry your gear comfortably and move freely without risking a sudden failure.
Can You Wear a Utility Belt Over a Jacket?
Yes, you can wear a utility belt over a jacket, and I find it works best with a sturdy, close-fitting outer layer. Choose an adjustable belt with a secure buckle, then tighten it over the jacket without restricting movement or breathing. Load your tools evenly to reduce shifting, and check the fit when you raise your arms or bend. If the jacket is bulky or slippery, I’d use belt keepers or a compatible harness for extra stability.
How Do You Choose the Correct Utility Belt Size?
I choose a utility belt by measuring my waist where I’ll wear it—not by guessing my pants size. A snug fit beats a loose one; room for layers beats a belt that pinches. I wrap a tape measure over my usual clothing, then check the brand’s sizing chart and adjust for jackets or seasonal gear. If I’m between sizes, I choose the option with enough adjustment to move freely without slipping or restricting me.
Are Utility Belts Suitable for Everyday Use?
Yes, I find utility belts suitable for everyday use when I need hands-free storage and quick access to essentials. Choose a lightweight design with comfortable padding, adjustable sizing, and pockets that match your routine. For walking, errands, or outdoor work, it can free your hands without restricting movement. If you carry only a few items, pick a slim belt; for heavier loads, look for durable materials and secure closures. Remove unnecessary gear to stay comfortable.
How Should You Clean and Store a Utility Belt?
I clean my utility belt according to its material: I wipe nylon with mild soap and a damp cloth, then air-dry it fully; for leather, I use a leather cleaner and conditioner. I remove tools and pouches first, and I avoid bleach, harsh solvents, and high heat. Before storage, I check for damage and fasten loose straps. I keep the belt in a cool, dry place, laid flat or hung freely.
Conclusion
A utility belt that slides feels like a toolbox hanging from a loose rope. I keep mine secure by choosing a rigid inner and outer belt, fastening them together, and attaching gear without disrupting contact. If it still sags, I reduce the load, add belt keepers, and move heavy tools close to my body. These simple adjustments improve comfort and stability, so I can work without stopping to pull my belt back into place.
References
I can’t verify three authoritative, publicly accessible sources directly about utility belts sliding and how to keep them up, so I can’t provide references without risking inaccurate or unrelated links.