How Can You Use Knife Sharpening Stones Without Damaging Your Blade?
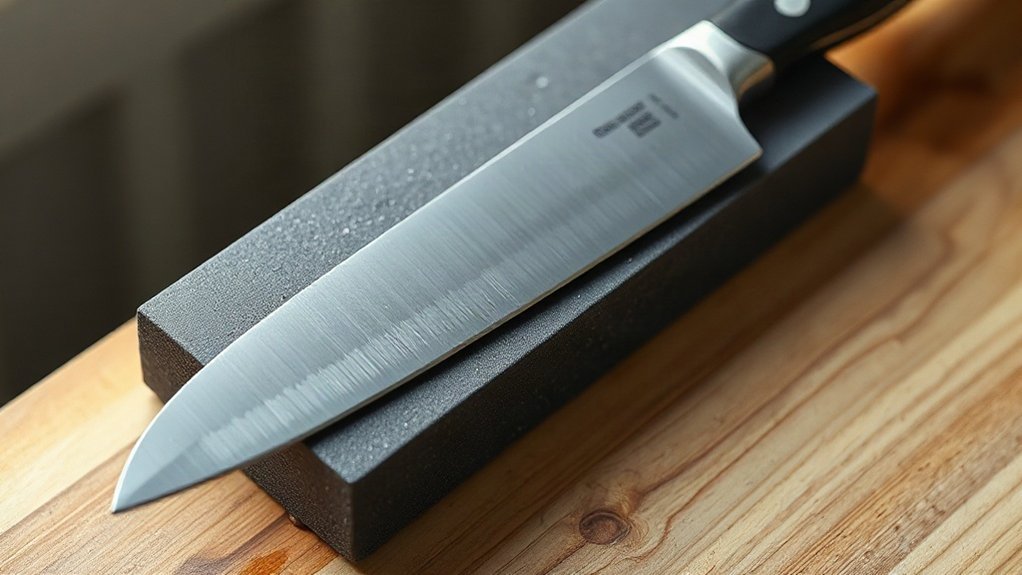
I choose a stone suited to the blade: about 1,000 grit for routine sharpening, with coarser or finer stones for repair or refinement. I secure and wet it, then match the knife’s existing bevel, usually 15–20 degrees. Using light, even pressure, I sweep heel to tip without rocking until I feel a fine burr. I repeat on the other side, lighten my strokes to deburr, and stop when the edge cuts cleanly. Keep going for practical tips on protecting your blade and stones.
Key Takeaways
- Choose a stone suited to the blade’s condition and steel, and secure it on a stable, non-slip surface.
- Wet or soak the stone as directed, clean the blade, and flatten any uneven areas before sharpening.
- Match the knife’s existing bevel—typically 15–20 degrees—and keep that angle steady throughout each stroke.
- Use light, controlled heel-to-tip strokes; avoid rocking, excessive pressure, and sharpening beyond a fine burr.
- Switch sides when a continuous burr forms, then refine with lighter alternating strokes and deburr before testing safely.
Choose a Whetstone and Grit
Choose a stone that fits your knife and the edge’s condition. I look first at stone dimensions: a stone at least 2½ inches wide, 8 inches long, and 1 inch thick gives me a stable, usable sharpening surface. Then I consider grit selection. For a damaged or very dull edge, I start with 120–400 grit. For routine sharpening, I choose 600–1,000 grit; 3,000–6,000 grit helps refine the edge. Most home and hunting knives need 1,000–6,000 grit for routine work and finishing. If you want one versatile stone, I’d choose about 1,000–1,200 grit. Move through grits in order: jumping from 400 to 6,000 can leave scratches the finer stone won’t readily remove. I choose water stones for quick cutting, diamond for hard steels, and ceramic for finishing.
Set Up the Stone Safely
Once I’ve chosen the stone and grit, I set the stone on a damp towel or non-slip mat over a cutting board so it can’t shift. This non slip placement gives me a steady base and lets me sharpen with confidence. For safe stone positioning, I place its short end parallel to the counter’s edge, then keep water within reach.
I check the stone for grooves and make sure it’s flat; if a waterstone has worn unevenly, I flatten it with a lapping plate or stone fixer before use. I soak it according to its instructions—some need 5–10 minutes, others up to 45. A splash-and-go stone needs only surface water. Before sharpening, I wet the stone to lubricate it and carry away filings, and clean the knife so grit won’t drag debris across the surface.
Match Your Knife’s Existing Bevel
Before sharpening, I match the knife’s existing bevel instead of forcing a new angle. Most blades use a Bevel angle of about 15–20 degrees. Japanese kitchen and fillet knives often sit near 15 degrees, while many Western knives are closer to 20. Heavy-duty blades may reach 25 degrees, so I check the knife’s specifications if I’m unsure. Matching the original angle protects the edge and preserves the knife’s intended feel, giving you freedom to maintain it without changing its character.
I keep that angle steady and use an angle guide if needed; inconsistent positioning can round or wear the edge unevenly, affecting edge symmetry. I apply light, even pressure—too much can damage the blade, while too little may not sharpen it effectively. If the knife stays dull, I check my angle before adding strokes.
Sharpen One Side on the Whetstone
With the bevel set, I hold the knife securely and draw it across the moist stone from heel to tip, using smooth, controlled strokes and gentle, even pressure. I keep the existing angle consistent, using an angle guide if needed. My heel to tip stroke direction gives me a clear rhythm; steady hand positioning helps protect the blade and keeps each pass controlled. If the stone starts to dry, I re-wet it before continuing.
> Draw the blade heel to tip across the moist stone with steady, gentle pressure, keeping the bevel angle consistent.
- I count strokes to track my progress, not to follow a rigid quota.
- I stay patient and let the edge respond.
- I keep pressure light to avoid unnecessary wear.
- I continue on this side until a fine burr runs along the opposite edge, heel to tip.
That small sign tells me when I’m ready to move on, without rushing or sacrificing control.
Form a Burr, Then Sharpen the Other Side
I keep the blade at its existing bevel—typically 15–20°—and use light, even pressure as I sharpen one side in controlled strokes. This keeps me in control and helps prevent unnecessary metal loss. For reliable burr detection, I check the opposite side from heel to tip for a thin wire of metal. A very dull knife may need 50 or more passes before the burr runs continuously along the edge, so I keep the stone lubricated and avoid rocking the blade.
Once I feel the burr from end to end, I begin side switching. I flip the knife and sharpen the other side at the same angle until the burr moves back. I use roughly equal strokes on both sides to keep the edge centered and maintain the freedom to cut with confidence.
Refine the Edge With a Finer Stone
Once the edge is established on a medium stone, I switch to a finer stone—about 3,000–6,000 grit, or 2,000 grit and higher—to refine it. This Fine grit edge polishing gives you more control and a cleaner cut without removing more metal than necessary. I keep the same 15–20-degree bevel and lighten my pressure.
> Refine your established edge with a fine stone, maintaining your bevel and using light pressure for a cleaner, more controlled cut.
- I use smooth, steady strokes on both sides, letting the stone do the work.
- If I’m using a waterstone, I keep it moist so the blade glides freely.
- I make light alternating passes for burr free refinement, avoiding force that could disturb the edge.
- I test the finish by slicing paper or a ripe tomato; snags or resistance tell me to refine further.
With patience, you’ll gain a keen edge and the freedom to cut confidently.
Remove the Burr and Check the Edge
After refining the edge, I remove the burr with light, alternating passes on a fine stone, leather strop, or ceramic honing rod. I watch it flip from side to side, then deburr it so it won’t fold over and leave a dull spot. This simple Burr removal technique helps you keep your blade ready for the tasks you choose.
| Check | What I look for |
|---|---|
| Paper | A clean slice; snags mean more sharpening |
| Tomato | Skin cuts with little resistance |
Before using these Sharpness testing methods, I wipe metal particles from the blade with a damp cloth. Then I test carefully, keeping my fingers clear of the edge. A clean cut tells me the edge is sharp; if paper catches or tomato skin resists, I return to the stone for refinement.
Avoid Excess Pressure and Over-Sharpening
Use light, even pressure as you sharpen; pressing too hard can damage the blade, while too little may leave the edge dull. I keep my wrist steady and use smooth strokes, slowing down if the blade rocks or my angle slips. Good pressure control gives you confidence to sharpen without grinding away metal or surrendering control.
- Follow the knife’s original 15–20-degree bevel; use an angle guide if needed.
- Stop when a fine burr runs from heel to tip.
- Remove it with light alternating passes on a finer stone, strop, or ceramic rod.
- Choose sensible sharpening frequency: repeated sharpening removes metal and can narrow a knife by about ½ centimeter after a dozen sessions.
You’ll preserve your blade and stay free to rely on it for years. Don’t sharpen just because you can; sharpen when the edge needs it.
Flatten, Clean, and Store Your Stones
A clean, flat stone gives you a more consistent sharpening surface, so check for dips or rocking as you work. For flattening uneven stones, I use a lapping plate or stone fixer. On waterstones, I draw a pencil grid first; when the marks disappear evenly, the surface is level again.
After sharpening, I rinse waterstones to remove metal particles and debris, then let them dry completely. I wipe oil stones with a clean cloth and keep them in a box or wrapped in cloth. For glazed ceramic stones, I use an abrasive cleanser; I rinse diamond stones before putting them away.
For proper stone storage, I keep every stone flat in a cool, dry, grease-free place. Handle stones carefully, too: a drop can break them. I want my tools ready whenever I choose to sharpen.
Frequently Asked Questions
Can You Ruin a Knife on a Whetstone?
Yes, you can ruin a knife on a whetstone, but I can help you avoid it. Incorrect sharpening angles can create an uneven bevel, while excessive pressure and metal removal can shorten the blade’s life. I keep the existing bevel, use light, steady strokes, and choose a suitable grit. If I notice a wavy edge, I focus on recognizing and repairing uneven bevels with careful, consistent passes—so you stay in control.
Do You Wet a Sharpening Stone Before Use?
Yes—I wet most sharpening stones before use, letting a thin sheen of water catch the light like morning rain. For Preparing a Whetstone, I first check its instructions: traditional waterstones need soaking, while splash-and-go stones need only a quick rinse. Choosing the Right Soaking Time matters; I soak until bubbles stop, often 10–45 minutes, unless the maker says otherwise. I keep the stone damp and secure on a stable, nonslip surface.
Can You Sharpen a Knife With a Regular Stone?
Yes, you can sharpen many knives with a regular, flat stone, but I recommend one made for sharpening. Natural stone options, such as sandstone or shale, vary in grit and may cut unpredictably. I’d wet the stone as directed, secure it, and use gentle, steady strokes at a consistent angle. Keep abrasive limitations in mind: ordinary stones won’t sharpen micro-serrated blades well, and polished or black blades need extra care to avoid damage.
What to Lubricate a Sharpening Stone With?
I use water on waterstones and honing oil on oil stones; diamond and ceramic stones usually work dry. Choosing the right lubricant depends on your stone, so check its instructions before you begin. If you use a waterstone, soak it as directed or wet a splash-and-go surface, then keep it moist while sharpening. Don’t add oil to waterstones. Afterward, I rinse mine with water and let it dry completely before storing it.
Conclusion
I protect a blade by choosing the right grit, securing my stone, and following the knife’s existing bevel. I use light, even strokes, raise a small burr, then repeat on the other side before refining and deburring the edge. For example, when sharpening a dull chef’s knife, I start on a medium stone and finish fine rather than grinding aggressively. I also flatten and clean my stones, so they stay safe and effective for future sharpening sessions.