Which Knife Sharpening Stones Work Best for Repairing Chipped or Damaged Blades?
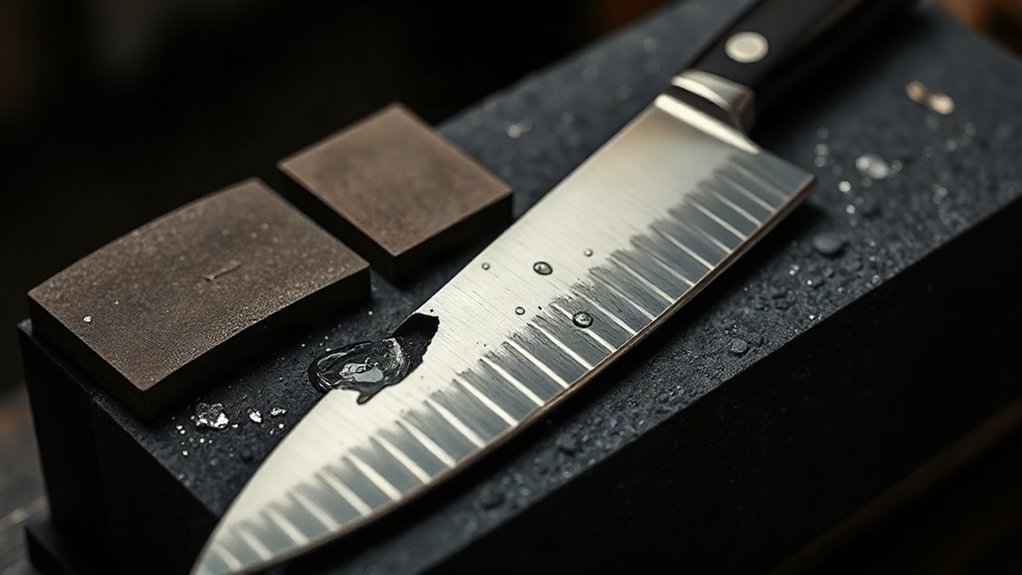
I use a coarse 220-grit stone to remove chips because it cuts damaged steel faster than medium or fine stones. First, I inspect the full edge and mark each damaged area so I don’t grind away sound steel unnecessarily. Once the chips are gone, I use a medium stone to establish an even bevel, then a fine stone to polish with light pressure. I’ll also explain how to prepare the stones, control your angle, and check the finished edge.
Key Takeaways
- A coarse 220-grit stone works best for removing chips because it cuts damaged steel faster than medium or finishing stones.
- Keep the coarse stone wet and grind at the blade’s existing bevel angle, targeting damaged areas to preserve sound steel.
- On symmetrical, double-bevel knives, work both sides evenly to keep the edge centered.
- After chips disappear, use a rough or medium stone to establish a continuous edge and raise an even burr.
- Finish with a finer stone using light pressure, then test the full edge on paper and inspect any snags.
Which Sharpening Stones Remove Knife Chips?
If your knife has chips, start with a coarse 220-grit stone to grind them away. You’ll remove damage faster with coarse abrasives than with a medium or finishing stone. Before sharpening, I inspect the full edge by slicing paper from heel to tip. Any catch can reveal a chip that needs attention.
On a symmetrical, double-bevel knife, grind both sides equally to preserve the edge’s shape. Once the chips disappear, keep using the coarse stone to form a fresh edge. I check for an even burr along the entire blade, from heel to tip. Then I move to a medium stone to refine the edge; I save a finishing stone for polishing. Diamond plates can also handle coarse grinding, giving you another option when you want to repair a damaged blade and get back to sharpening.
Prepare and Flatten Your Sharpening Stones
Before sharpening, I soak rough and medium stones until the bubbles stop rising, but I only splash finishing stones to avoid cracking them. I secure each stone in a base for better grip and clearance. I also flatten stones regularly with a stone fixer to prevent a concave surface.
Soak Rough and Medium Stones
Soak rough and medium stones in tap water until air bubbles stop rising, then secure each in a stone base to keep it steady and lift it above your work surface. This bubble release tells me the stone has absorbed the water it needs before sharpening. I don’t rely on a fixed soaking duration; I watch the bubbles instead, since stones can take different amounts of time. With the stone secured, I can guide the blade freely without worrying about the surface shifting. Keep water nearby as you work, and add some if the stone starts to feel dry. I avoid soaking finishing stones for long, because prolonged soaking may cause them to crack. These simple steps help me prepare rough and medium stones for controlled repair work.
Flatten Stones Regularly
Once my stones are ready, I check them for uneven wear and flatten them with a stone fixer before they become dished or halfpipe-shaped. A flat surface keeps the blade in consistent contact with the abrasive, giving me greater control as I repair chips. I watch wear patterns and adjust flattening frequency to match how often I use each stone; I don’t wait until the hollow is obvious.
- I secure each stone in a base for grip and a raised working surface.
- I run a stone fixer across the face until it’s level.
- I check the surface regularly, especially after heavy use.
- I add water whenever the stone starts to feel dry.
These simple checks let me sharpen confidently, without fighting an uneven surface or relying on a rigid schedule.
Remove Chips With a 220-Grit Stone
I inspect the entire edge first, since even tiny chips can affect the cut. I secure and wet a 220-grit stone, then grind away the chips as a separate step before sharpening. On a double-bevel knife, I remove material evenly from both sides.
Inspect the Entire Edge
To find damage that could snag during cutting, slice a sheet of paper from heel to tip and inspect the entire edge closely for visible or tiny chips. I use this simple test to locate interruptions in blade edge continuity before sharpening. A catch signals a spot that deserves closer attention, not a reason to rush into grinding.
Under good light, examine the full length and note visual chip patterns. Small defects can hide between larger nicks, so don’t assume a smooth-looking section is sound. I mark each damaged area mentally, then check both sides of the blade.
- Start at the heel and move steadily toward the tip.
- Watch for catches, tears, or rough cuts in the paper.
- Tilt the blade to reveal chips along the edge.
- Inspect the opposite side, too, for a complete assessment.
This inspection helps me plan repair without removing sound steel unnecessarily.
Grind Chips With 220 Grit
After identifying every chip, I use a 220-grit stone to grind away the damaged steel before sharpening. I run a paper-cutting test from heel to tip, then inspect any spots that catch. This careful evaluation of blade damage helps me target the repair instead of removing more steel than necessary. When selecting abrasives, I choose this coarse stone because it cuts quickly and restores a clean edge. I keep the stone wet as I work, adding water whenever its surface starts to feel dry. I grind until the chips disappear, then use the same rough stone to establish the edge before moving to a medium stone. On a symmetrical, double-bevel knife, I remove damage by grinding both sides equally. I take my time and check progress often, so I stay in control of the repair.
Match Both Bevels
Once I’ve located every chip, I remove the damage before refining the edge. I use a 220-grit stone for this repair, keeping chip removal separate from ordinary sharpening. On a symmetrical, double-bevel knife, I work both sides evenly to match bevels and balance sides. That keeps the edge centered, so you stay in control rather than correcting an uneven grind later.
- Hold the blade at its existing bevel angle.
- Grind one side, then give the other side comparable strokes.
- Check the full edge often for visible and tiny chips.
- Continue until the damage disappears and both bevels look even.
After the chips are gone, I use the same rough stone to establish a continuous edge. Only then do I move to finer stones and refine the finish.
Keep a Steady Angle as You Set the Bevel
As you use the 220-grit stone to remove chips and set the bevel, keep the knife steady and match the angle on both sides. I hold the handle and heel firmly, then rest my fingers on the spine to stabilize the blade. This handle grip gives you control without restricting your movement. If you need a rough angle guide, place two stacked pennies beneath the spine.
Work in short sections, keeping the blade at the same angle throughout each pass. I press on each stroke and ease up on the return; my supporting hand manages stroke pressure while my other hand maintains the angle. On a double-bevel knife, grind both sides equally. If the blade wobbles, the bevel can shift, leaving the sides unable to meet cleanly. Steady control lets you set the edge with confidence.
Refine and Polish the Edge on Two Stones
With the bevel set and the chips removed, I move to a medium-grit stone to refine the edge. During Medium Stone Refinement, I repeat steady strokes until the burr feels even from heel to tip. This gives me control without rushing toward a polished finish.
- I switch to a finishing stone and use much less pressure, protecting the delicate edge from crushing.
- I splash water onto the stone to keep it wet, but don’t soak it; prolonged soaking can cause cracks.
- I work lightly for about five minutes, extending the session to ten for a smoother polish.
- I finish with Finishing Stone Polishing, then cut paper from heel to tip; a clean, smooth slice shows the edge is refined.
This two-stone progression lets me restore a damaged blade with care while keeping each step deliberate and effective.
Test the Edge From Heel to Tip
When the edge feels refined, I slice a piece of paper from heel to tip and check that the cut stays smooth along the whole blade. I watch for consistent paper cut smoothness rather than judging the knife by one clean slice. Move your attention along the entire edge, including spots that look fine at a glance. A catch or edge snagging can signal a chip or other damage, so I pause and inspect that section closely. Smaller defects may be difficult to see, but they can still interrupt the cut. This test gives you a simple way to assess the blade’s progress without guessing. If I find a chip, I treat removing it as a separate repair step, not as ordinary sharpening. Then I test the edge again.
Frequently Asked Questions
Can Every Chipped Knife Blade Be Repaired at Home?
No, you can’t repair every chipped knife blade at home. Evaluating chip size helps you decide whether careful sharpening can restore the edge or whether the damage runs too deep. I recommend Identifying repair limits before you begin: large chips, cracks, or severe bends may need a professional or make replacement safer. For minor damage, you can work slowly with suitable tools, but don’t risk injury or sacrifice a blade you value.
When Should a Severely Damaged Knife Be Professionally Repaired?
When deep chips, cracks, or a bent spine turn your knife into a wounded workhorse, I’d seek professional repair before using it again. I’d especially call a specialist if damage reaches the handle, the blade won’t hold an edge, or home grinding could remove too much steel. Ask for an estimate first; compare repair costs with blade replacement, then choose the option that gives you a safe, dependable knife—and the freedom to use it confidently.
How Much Blade Material Can Sharpening Safely Remove?
I’d remove only the steel needed to restore a clean, durable edge; there’s no universal safe removal limit. For routine sharpening, that may mean just a few hundredths of a millimeter, while chip repair can require more. I’d preserve the blade’s sharpening stock allowance by avoiding aggressive grinding, overheating, and repeated reprofiling. If you can’t estimate the damage confidently, I’d stop and consult a skilled sharpener—you’ll keep more control over your knife’s lifespan.
Can Sharpening Stones Repair Cracked or Bent Blades?
No, sharpening stones can’t safely repair cracks or bends. I’d start with a blade assessment: inspect the steel for fractures, stress lines, and distortion before you try any work. Stones remove metal, but they won’t restore a cracked blade’s strength or straighten a bent one reliably. Those stone limitations matter because grinding may worsen damage and create hazards. I’d stop using the knife and consult a qualified repairer—or replace it—so you can choose a safe, independent next step.
How Often Should a Repaired Knife Be Sharpened?
I’d sharpen a repaired knife whenever it stops cutting cleanly—not by a fixed date. Here’s the catch: sharpening too often can shorten its life. I check the edge before each use and hone it lightly when it feels dull; I sharpen only when honing no longer restores its bite. Your maintenance schedule depends on how often you use the knife and what you cut. This approach protects edge longevity while leaving you free to cook.
Conclusion
For chipped blades, I start with a coarse 220-grit stone, then move to finer stones to refine the edge. I flatten each stone first and keep a consistent angle throughout the repair. For example, if I find a small chip in a chef’s knife, I grind past the damage, set a clean bevel, and polish it on two finer stones. I finish by testing the entire edge, from heel to tip, so I know the repair’s complete.